
It's pretty straight forward, but pictures always help.
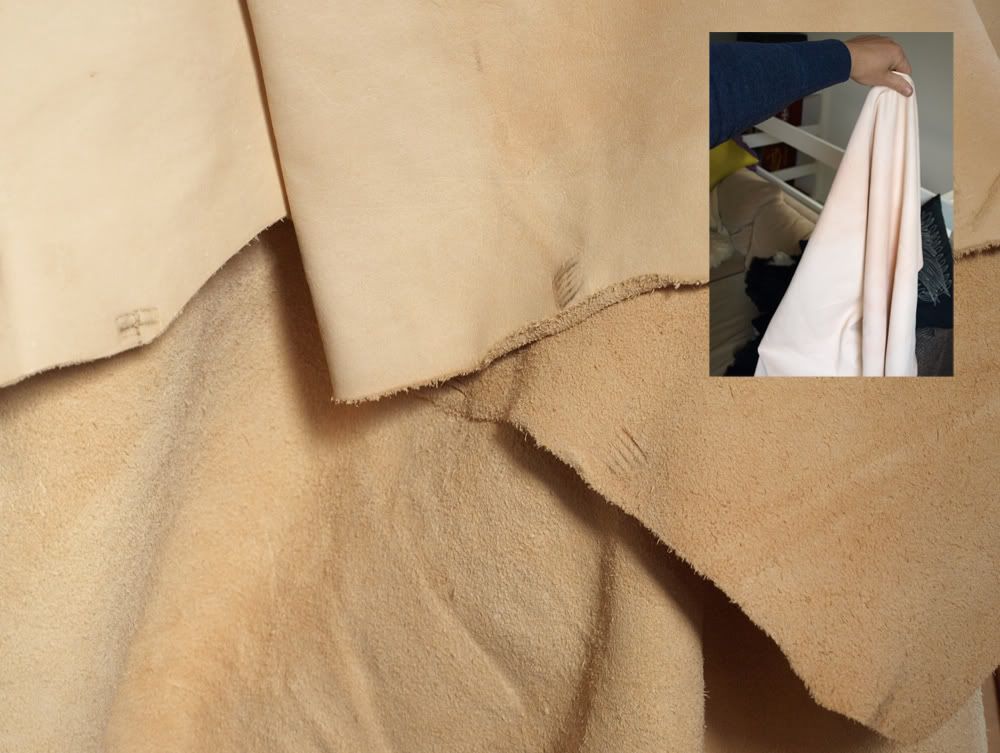
I use some pretty supptle leather for these scabbards.
This is calfskin and just about 0.6-0.8 mm thick. It is very streatchy and soft.
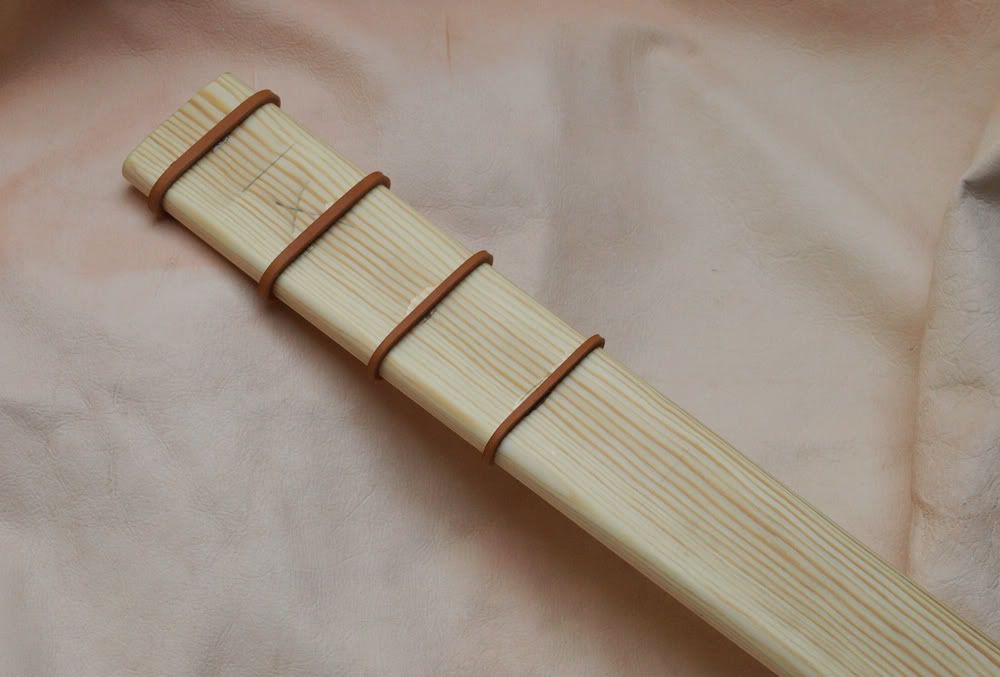
First I glue some leather strips on to the core. These will appear as raised areas after the core has been covered and they will help the belt to stay in place, and make sure it won't slide down.

In the next three pictures you can se how the leather is fitted to the tip of the core. This way of doing it gives a pretty tight fit.
The leather is also soaked in water before being sewn to the scabbard. This makes it more streachy and therefore reduces the danger of tearing the leather when sewing it togeather. When the leather dries it will shrink and make the fit even tighter. This way you can avoid using any glue at all!
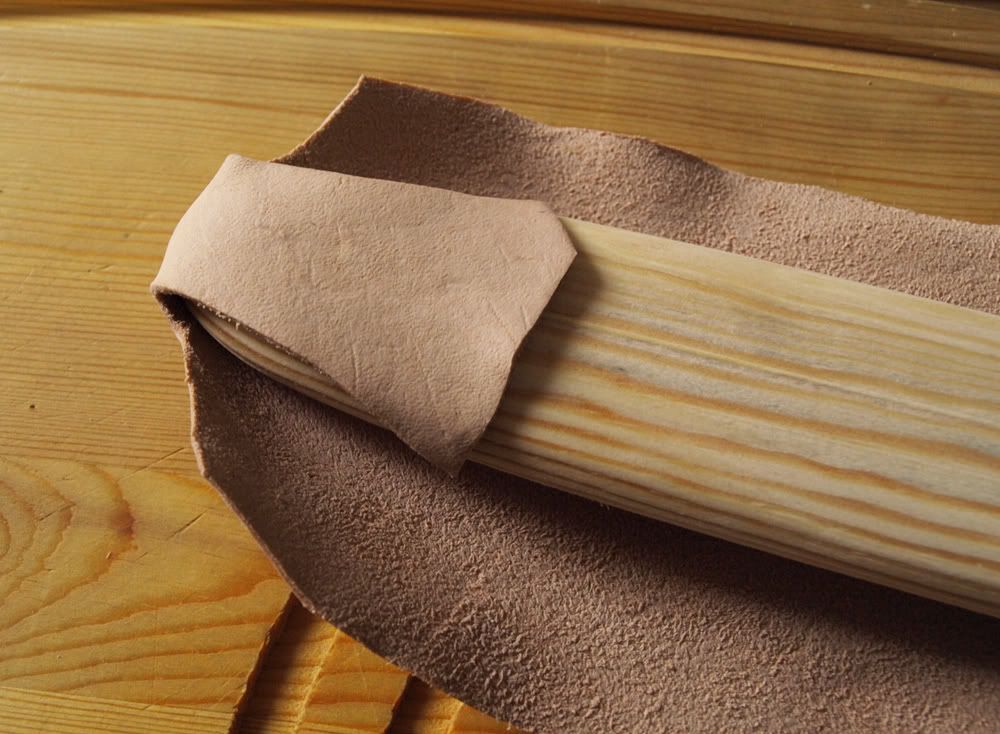
First you fold up the tip.

Then the sides.
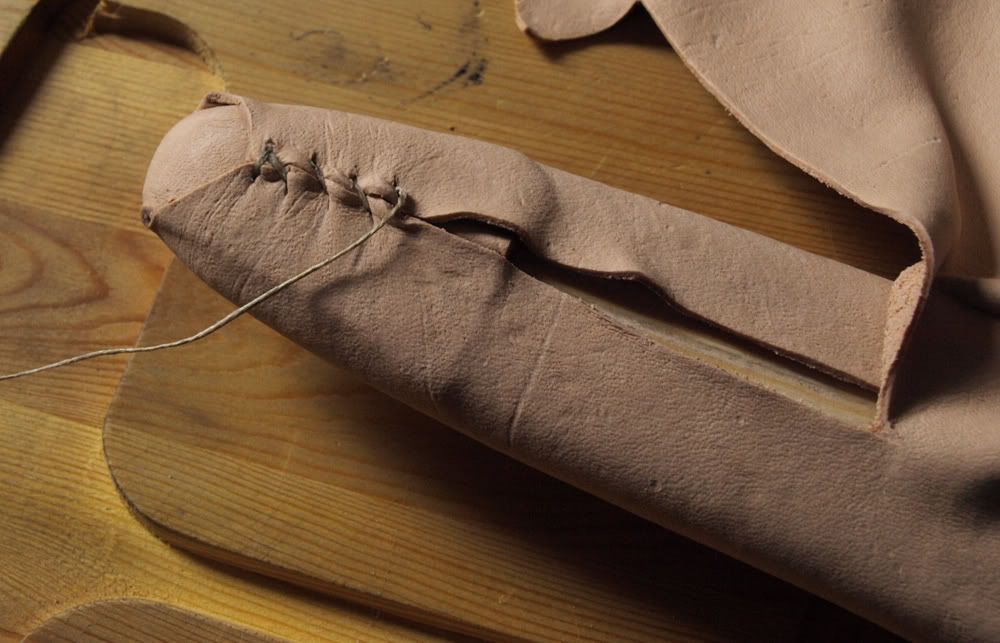
... And you start sewing!
As you can see I cut the leather to size as I go along. Then i don't risk takeing off to much.
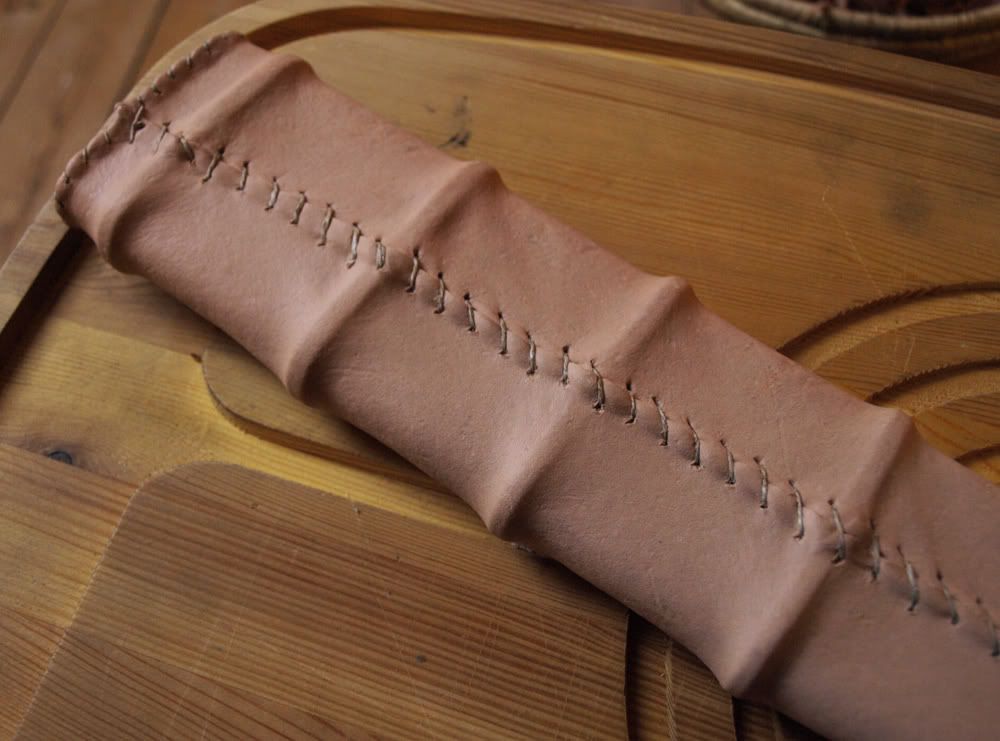
Sew all the way to the top, fold down the upper rim and stich it in to place.

Tie some string around the leather risers to streach the covering into the corners.
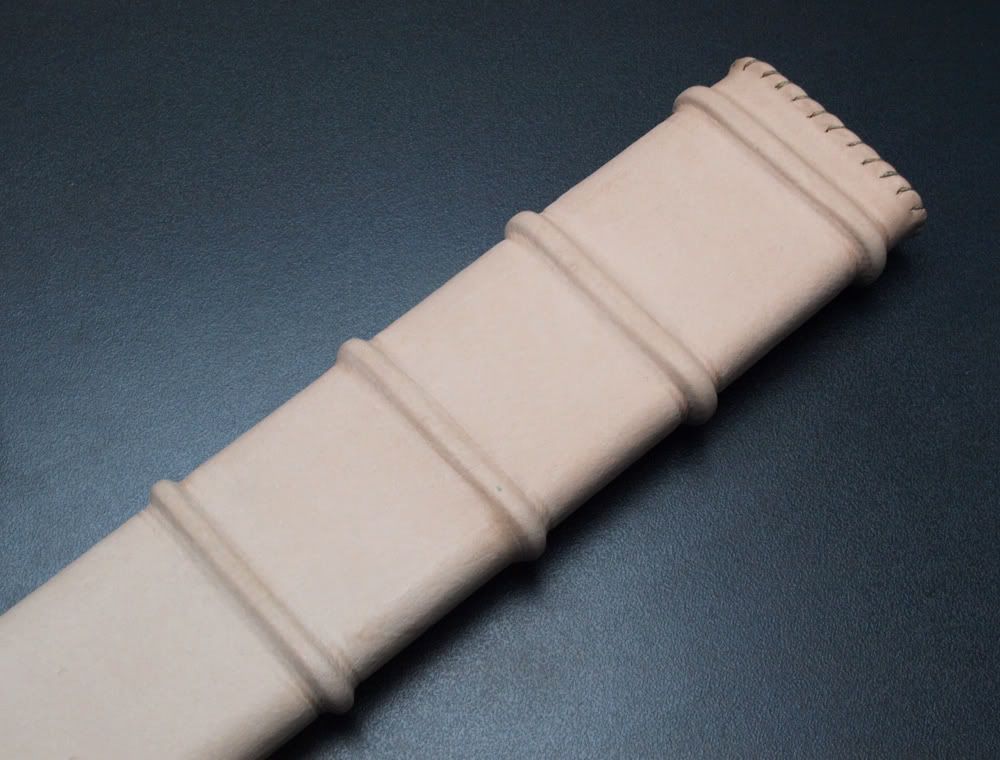
Let it dry for a day and it's ready to be fitted with a belt!
That's very nice. I really like that method of dealing with the tip, it makes so much more sense than the way I ended up doing it on mine. Have you considered skiving the edges of the flap that you wrap under so they dont' show?
ReplyDeleteHow firm was the leather once it had all dried? When I did mine I used thin, but quite firm leather rather that wasn't nearly as supple as what you used.
Nice suggestion about skiveing the edges. I will try that the next time.
ReplyDeleteAlthough I havent put that much effort into getting a nice finish on the back of the scabbard. The fron is ehat matters.
The leather gets quite stiff when it dries. And clings very well to the core.
The streachyness i needed when sewing, not afterwards.
I allways cut the covering so it only just fits. Then I pull the edges togeather when im sewing.
Nice and surprising (no glue!) job. Isn't it difficult to fit the belt strips after the sewing? Do you wet the leather again?
ReplyDeleteIts not difficult at all.
ReplyDeleteJust make the incisions with a scalpel and open the holes with a folding bone. That works for me.
The main thing is that you don't make the holes to large. They need to just barely fit the strips of the belt.
And be careful when you pull the strips through the holes. You can easily tear the covering if you are not careful.
Excellent work! What kind of wood is used for the core, ash?
ReplyDeletePine for this one. Ash for the others.
ReplyDeleteI would recommend ash, because it's stronger. Pine (pinus sylvestris) i lighter, but a lot softer than ash (Fraxinus excelsoir).
I quess maple (Acer pseudoplatanus/platanoides) could work too.
Weight and durability, should be the two main things to consider.
For a person living in Sweden I quess pine would be readily available.
Actually its guite easy to get hold of both maple and ash here, well at least in Mikaels and my own part of this oblong vegetable-shaped peninsula of ours.
ReplyDeleteNice informative pictures of the project, will be of fine assistance when I deside to make one myself.
cool, another great post
ReplyDeleteHow thick is the wood that you are using for the core?
How does the opening bit look?
@Frej: And here i thought that Sweden was only cowered by conifers ;-)
ReplyDelete@Brendan: I don't make the wooden core myself. My friend Jesper (the man who also makes the swords) does that.
But it looks like the pieces that he uses are about 5mm thick. The trick is to get it as thin as possible without makeing them to thin.
Check out the link i refer to i my last post. It should illustrate things nicely.
No no, you´re thinking of Finland :P
ReplyDeleteKære Louise
ReplyDeleteJeg prøver at få fat i dig ang. evt køb af plantefarvet garn vil du skrive til mig på dukkemagersken@yahoo.dk ??
Håber du ser dette ;-)
That turns out to be much simpler than I had imagined... thanx!
ReplyDeleteHow long do you soak the leather and do you saw it on while it is still damp?
ReplyDeleteAnd, do you prepunch the holes or since the hide is so thin you just use a needle?
@Samuel:
ReplyDeleteI prick the holes with an awl and sew on the cover while the leather is still damp.
Is there a way to wrap leather strip around old hand made wood
ReplyDeletescaboard to hold it together.