During our (Louise and I) stay at Voergaard castle I was asked by a friend of Louises to make a ladies purse.
I remembered seeing some pictures of the so-called "Pouch purses" in Purses in Pieces, so I thought that it could be an interesting project.
The pouch purse is a fairly simple type of purse. It consists of a pouch og "bag" of variable size and a strap to attach it to the belt. The pouch is drawn shut with a drawstring and the flap is held down with a sort of "button".
Smaller pouchlets can also be attached to the main pouch.
This type of purse can be seen on several pictures from the early 16th century. For example this picturen from 1500-1501 by Dürer.

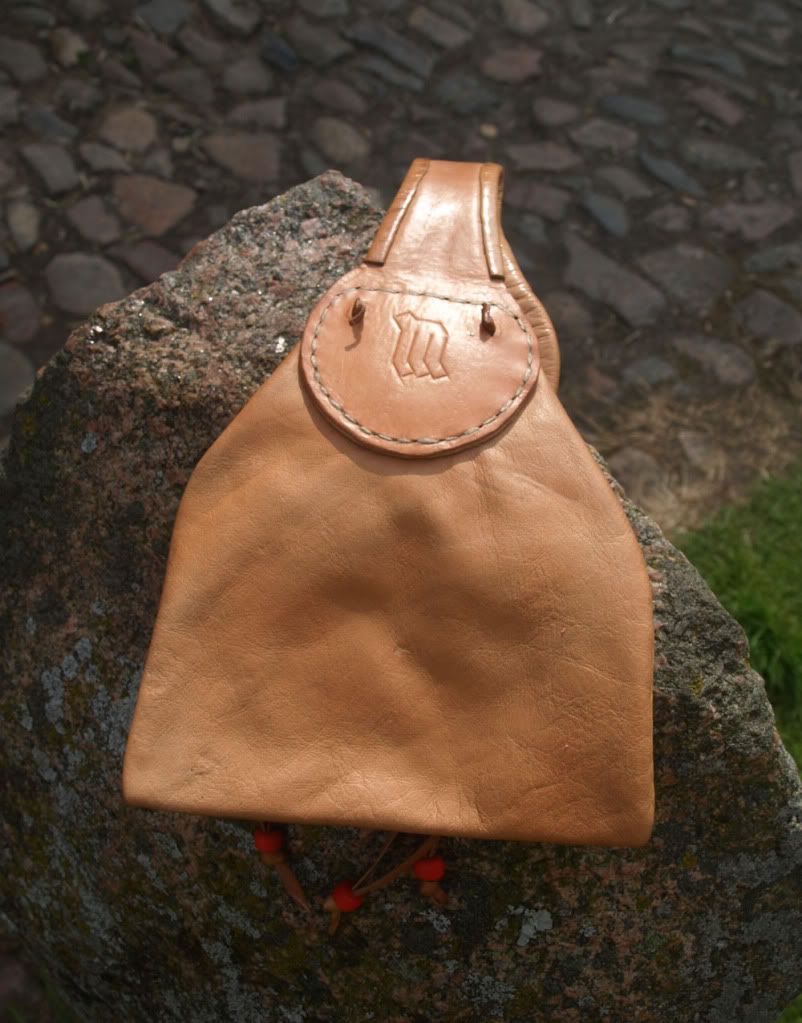
And here is my interpretation of a pouch purse.
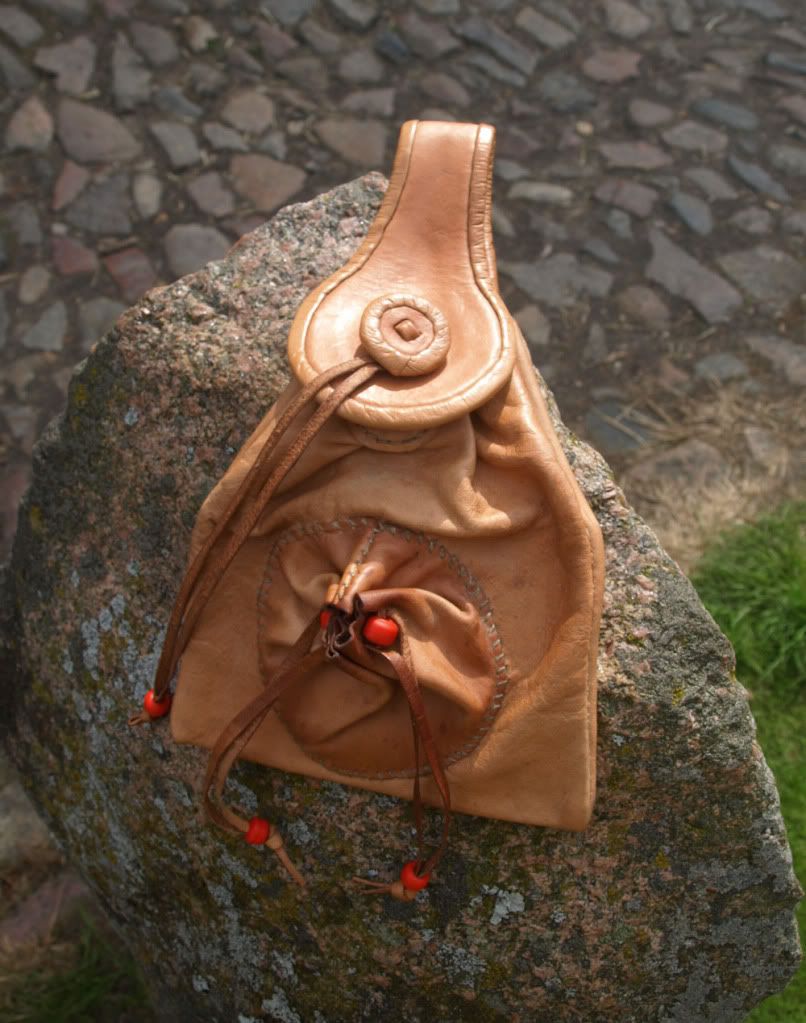
The pouch measures ca. 15 x 15cm and is made from very soft cow-skin, 0,6-0,8mm thick. The strap for the belt is ca. 20 cm long and made from 3mm cow-skin. The drawstrings and the edge og the belt-strap is made from goat-skin, ca. 1mm thick.
The glass beads are hand made (not by me though).
In the picture by Dürer the flap does not look like it is held down by stiching, so I decided to leave it. Even though the flap is not stiched down it sits well on the belt.
The weight of the purse doesn't seem to be a problem.
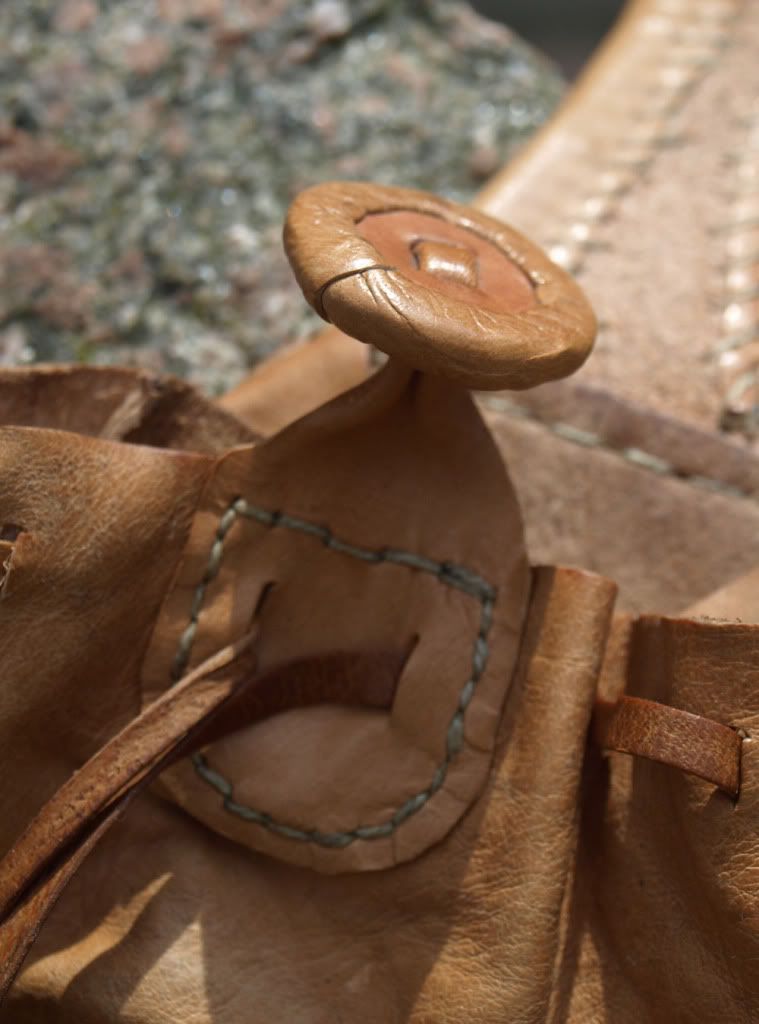
A close-up of the button and reinforcement of the holes for the drawstring.
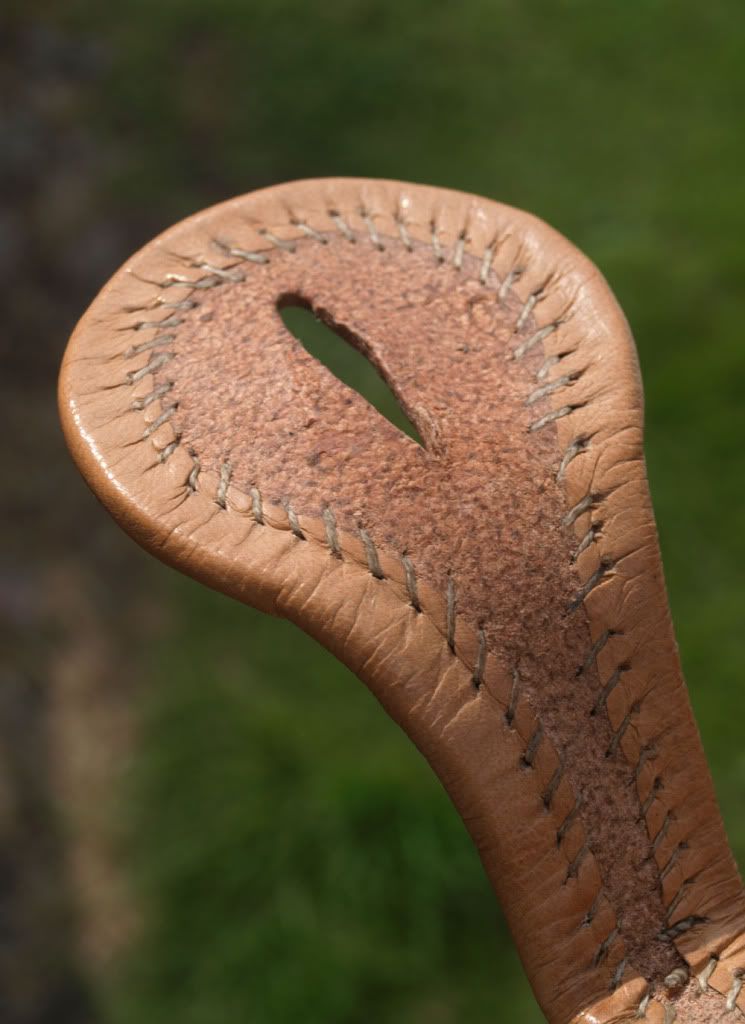
And this part of the purse is what I am perhaps the most pleased with. I really enjoyed making these stiches. And I think they look great :-)
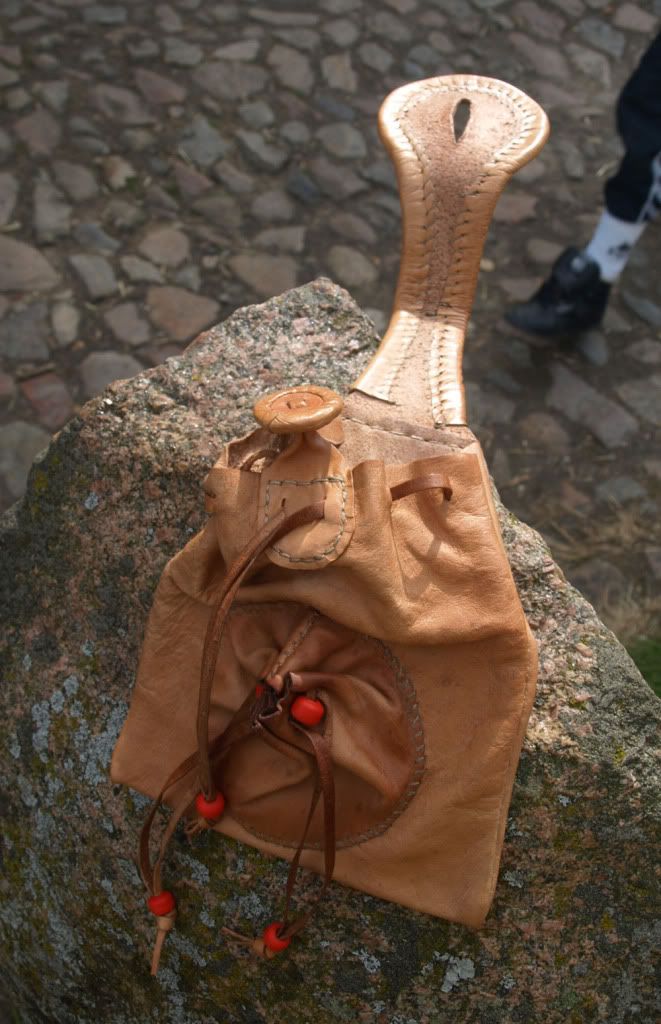
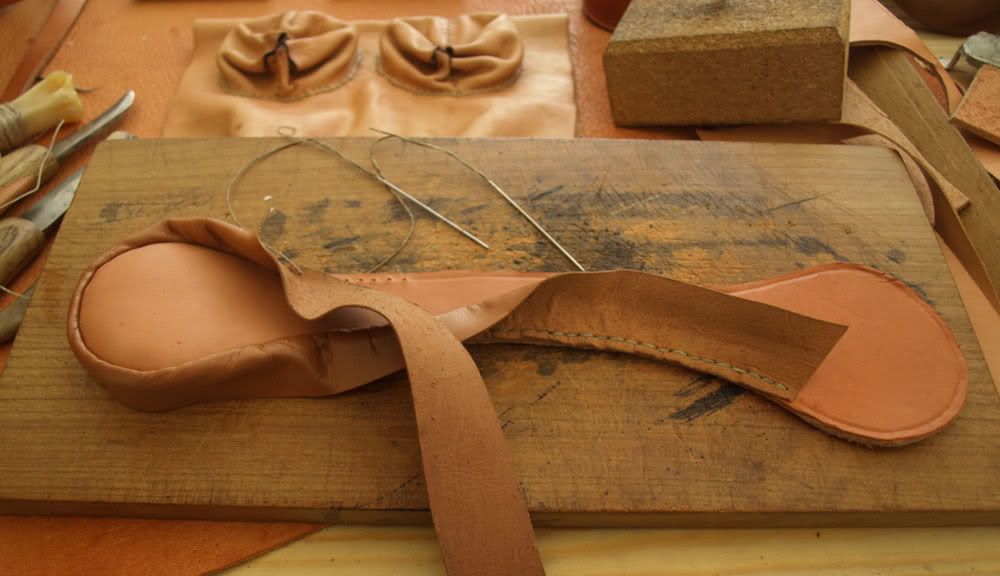
The back of the purse. The drawstrings are held in place bu a knot on the backside of the belt-strap.
And here is how to sew a strap on the edge of a piece of leather. Is also looks great on shoes!
First sew a strip of leather on to the front of the edge. Sew it on front-to-front. The distance from the edge to the stiches determines the with of the decorational edge.
Then turn over the leather strip and sew it to the backside, with stiches that doen not go through the front side of the leather.
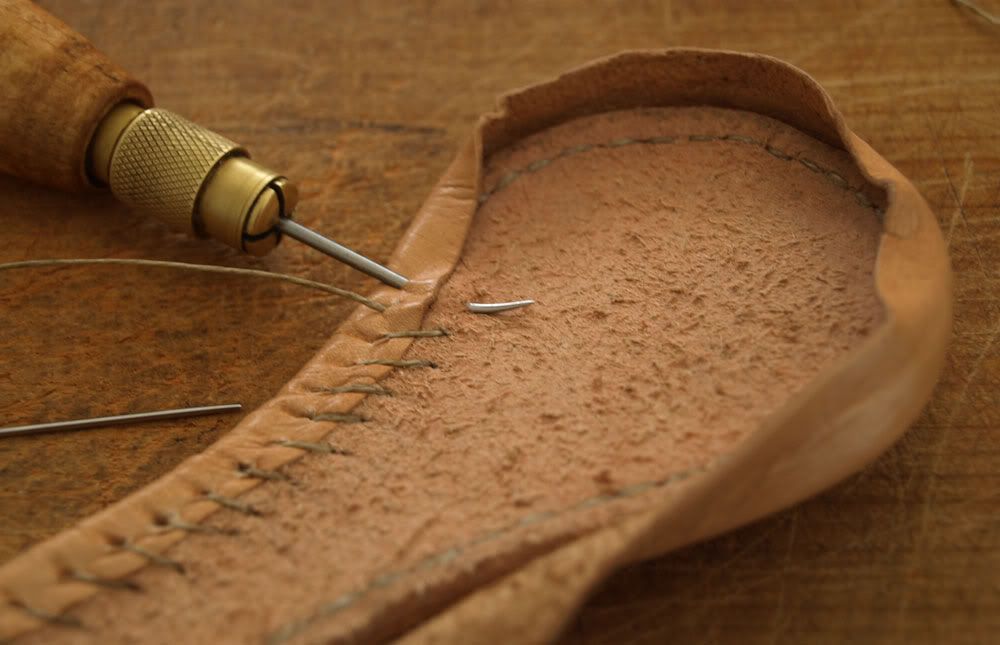
All it takes is a bit of cencentration, and it looks great :-)
- - - - - - - - Update! - - - - - - - - -
I also found this picture from 1503. Artist unknown.