Pages

Wednesday, July 22, 2009

Early 16th century ladies pouch purse

During our (Louise and I) stay at Voergaard castle I was asked by a friend of Louises to make a ladies purse.

I remembered seeing some pictures of the so-called "Pouch purses" in Purses in Pieces, so I thought that it could be an interesting project.

The pouch purse is a fairly simple type of purse. It consists of a pouch og "bag" of variable size and a strap to attach it to the belt. The pouch is drawn shut with a drawstring and the flap is held down with a sort of "button".
Smaller pouchlets can also be attached to the main pouch.

This type of purse can be seen on several pictures from the early 16th century. For example this picturen from 1500-1501 by Dürer.

Photobucket

And here is my interpretation of a pouch purse.

Photobucket

The pouch measures ca. 15 x 15cm and is made from very soft cow-skin, 0,6-0,8mm thick. The strap for the belt is ca. 20 cm long and made from 3mm cow-skin. The drawstrings and the edge og the belt-strap is made from goat-skin, ca. 1mm thick.
The glass beads are hand made (not by me though).

Photobucket

In the picture by Dürer the flap does not look like it is held down by stiching, so I decided to leave it. Even though the flap is not stiched down it sits well on the belt.
The weight of the purse doesn't seem to be a problem.

Photobucket

A close-up of the button and reinforcement of the holes for the drawstring.

Photobucket

And this part of the purse is what I am perhaps the most pleased with. I really enjoyed making these stiches. And I think they look great :-)

Photobucket

The back of the purse. The drawstrings are held in place bu a knot on the backside of the belt-strap.

And here is how to sew a strap on the edge of a piece of leather. Is also looks great on shoes!

First sew a strip of leather on to the front of the edge. Sew it on front-to-front. The distance from the edge to the stiches determines the with of the decorational edge.

Photobucket

Then turn over the leather strip and sew it to the backside, with stiches that doen not go through the front side of the leather.

Photobucket

All it takes is a bit of cencentration, and it looks great :-)

- - - - - - - - Update! - - - - - - - - -

I also found this picture from 1503. Artist unknown.


Tuesday, July 7, 2009

Buisnesscard

Since Louise and I are going to a market next week. We thought that we would do some promotion for this blog.
So we made a buisnesscard :-)

Tent complete!

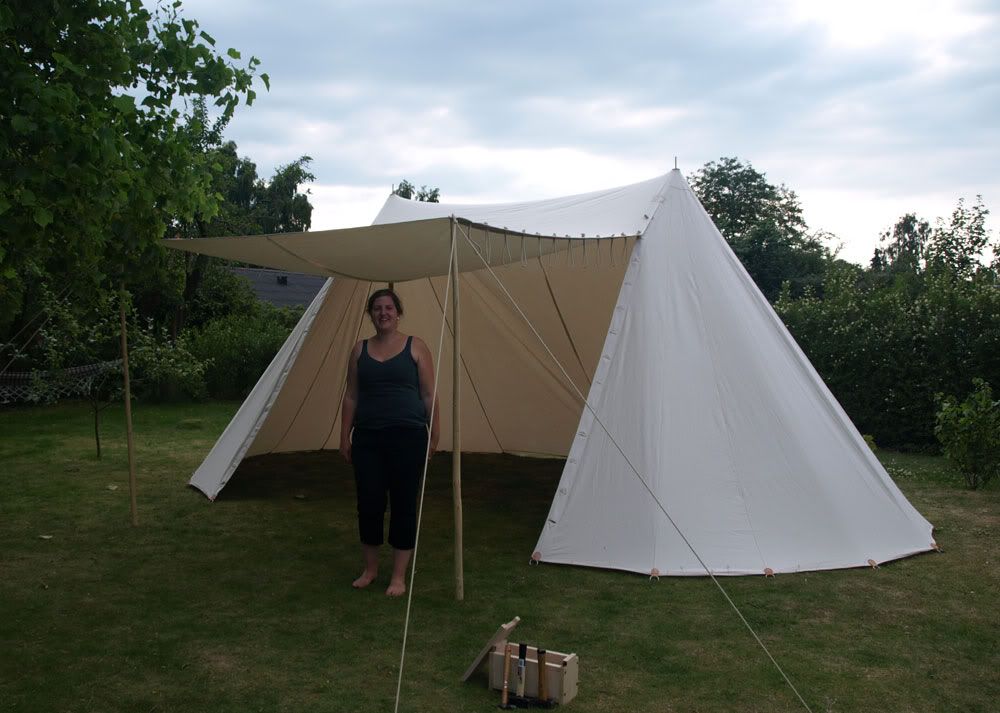
Finaly we have finished our tent! And we are both (Louise and I) very pleased with the result, and looking forward to field testing this coming week.


The tent is ca. 3 m tall, 4m wide and 7m long. The canvas is made from cotton and we have sewn the whole thing om a sewingmachine. So no authentic handsewn seams on this project.

The poles are made from spruce. Not the toughest of woods, but it should be perfect for tentpoles. And it has the advantage of not being to heavy.
We have painted the poles red with linseed oil paint.

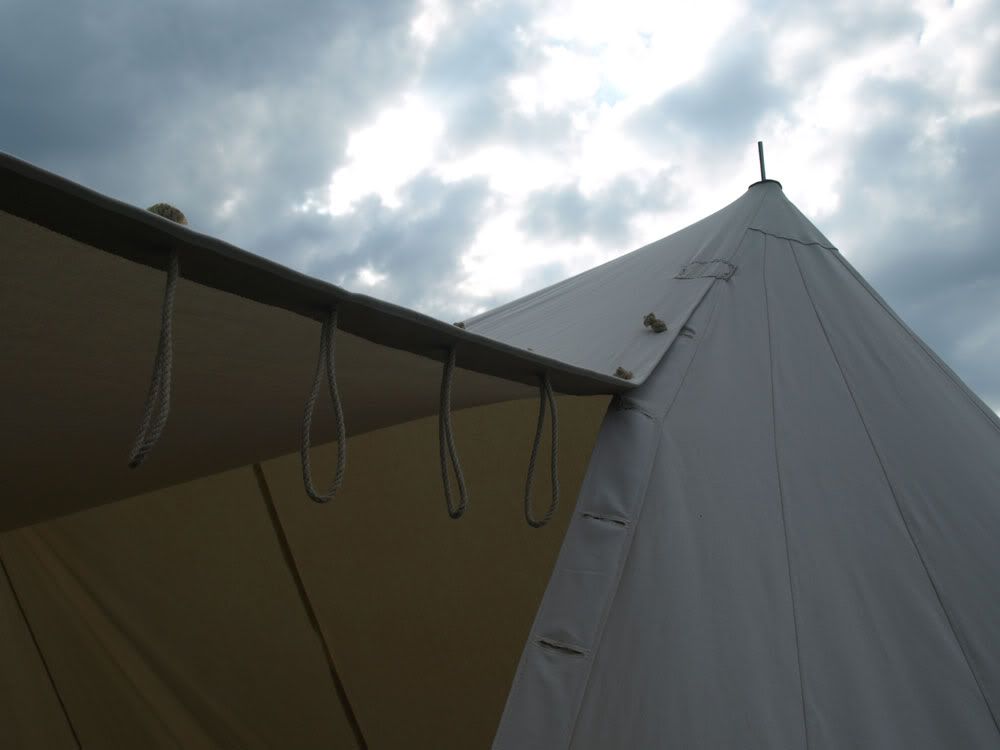
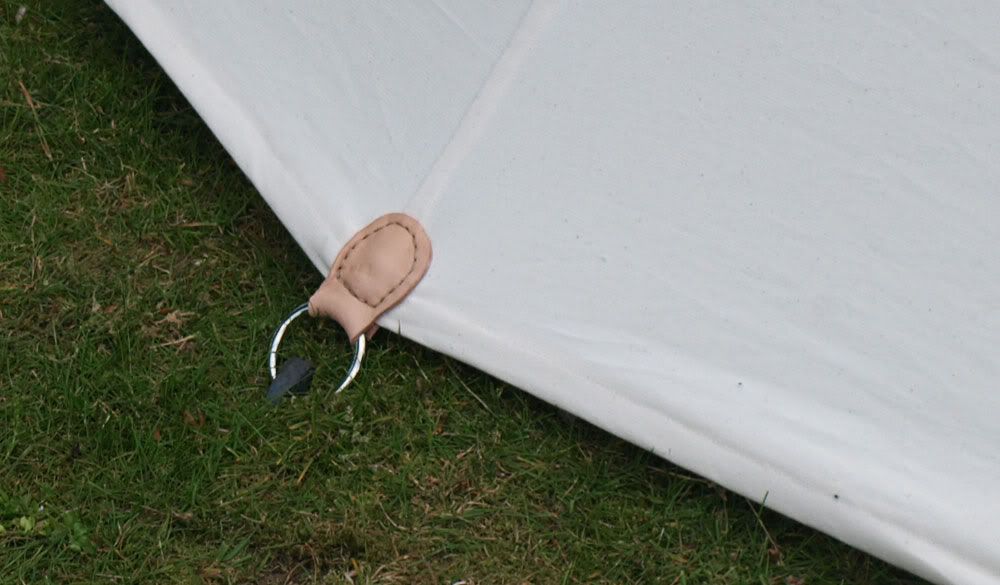
There will be more pictures later, but here are some details on the tent.


The edges of the "flap" were reinforced with jute-band, to prevent the rope from tearing through the canvas.


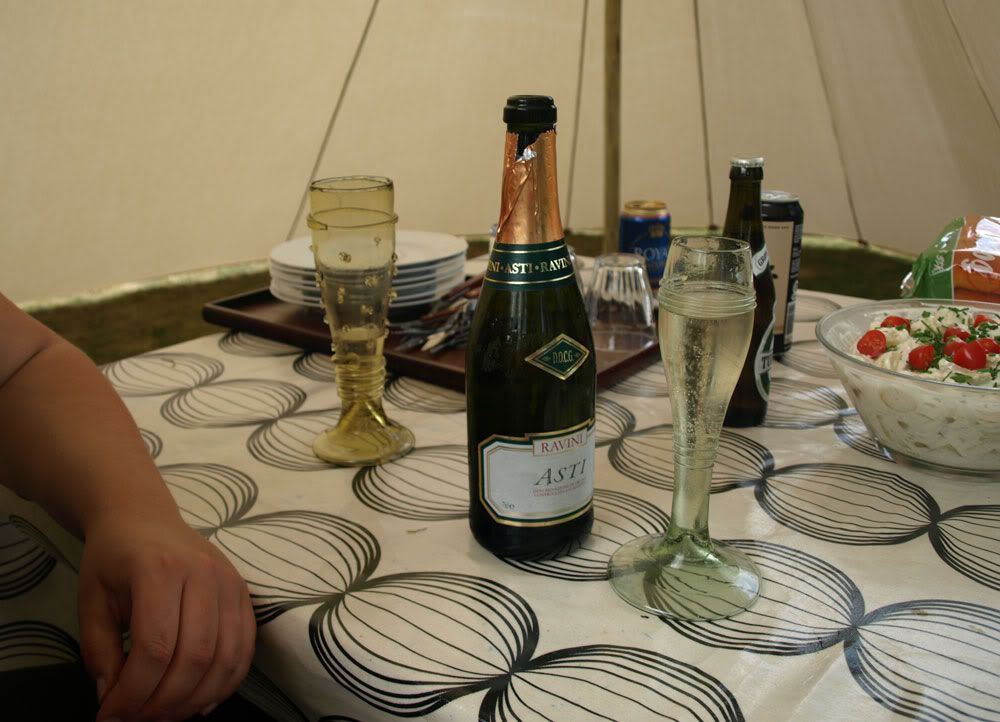
Of course we had to celebrate the ocation with "Expensive champagne" :-)

Thursday, June 25, 2009

The Haandkraft team!

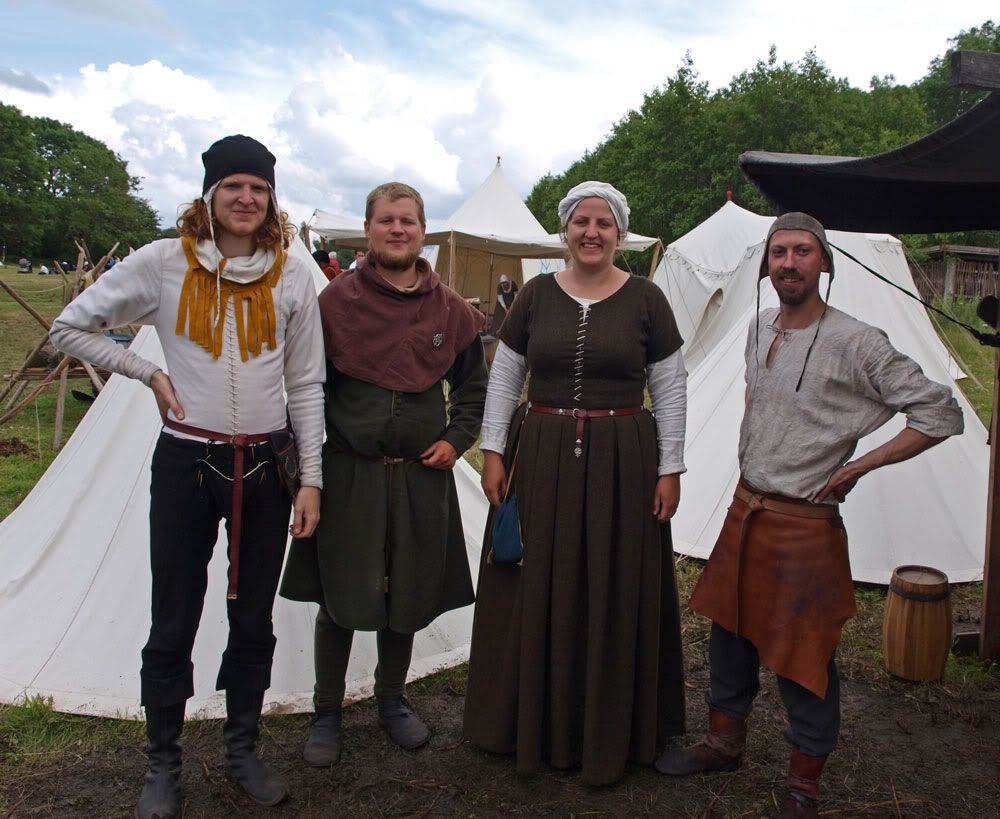
We thought that you readers might want to see who the authors of this blog are. So this weekend we got togeather for a classic group photo!


From left to right: Simon Nygaard Jensen, Mikkel Frederiksen, Louise Schelde, Jesper (Ildsmeden) Jørgensen.

Thank you all for reading and commenting on our blog!

Thursday, May 28, 2009

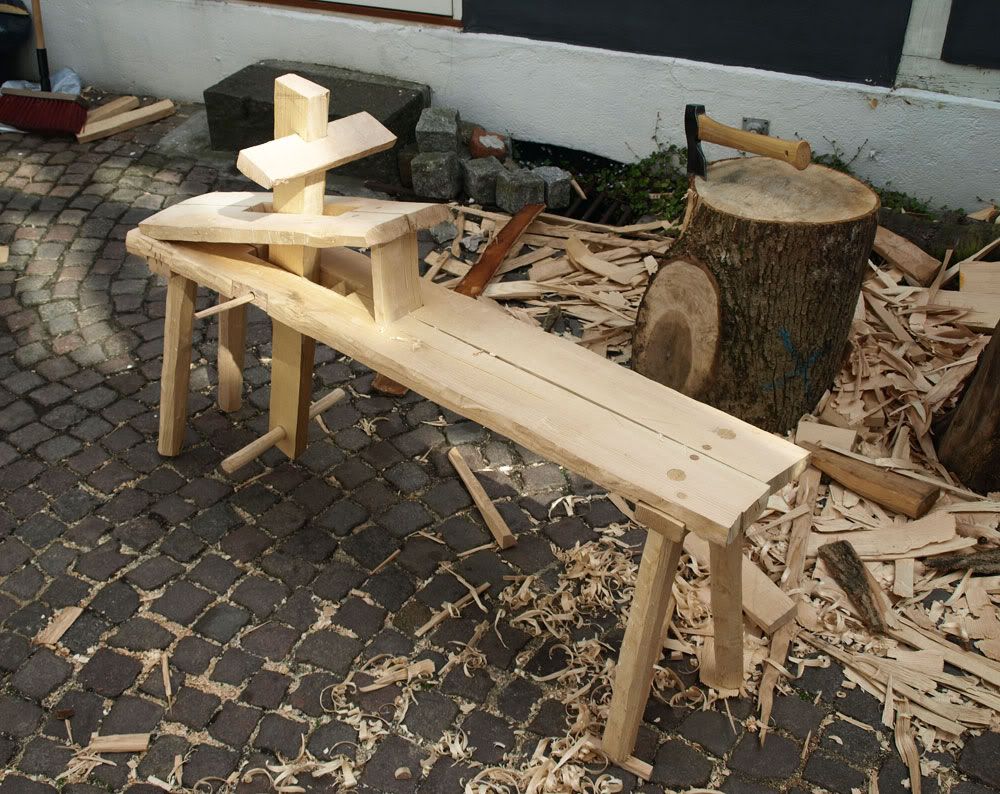
New shaving horse and riving wood.

For a long time now I have wanted to make myself a shaving horse. And as the tent that Louise and I are working on is almost finished, I am definately going to need a shavinghorse for making the tentpoles. So a couple of weeks ago I decided to do something about it.

I called the local forester and bought a 5m long trunk of ash. And thats what I made this beauty from :-)


I have been reading alot about greenwood working lately, so I decided that it would be interesting to try making "The horse" from fresh riven wood. Hence the call to the forester.
With help from a colleague of mine I got the trunk sawn in to smaller pieces, that I could work with.

I then split the wood into quarters, that I could transport home (also with the help of my colleague and his trailer).
At home I rived the quarters into eights, wich were shaped into planks that I could use for making the bench. For that I used a small single bevel axe that my dear friend Jesper (Ildsmeden) made for me last year.

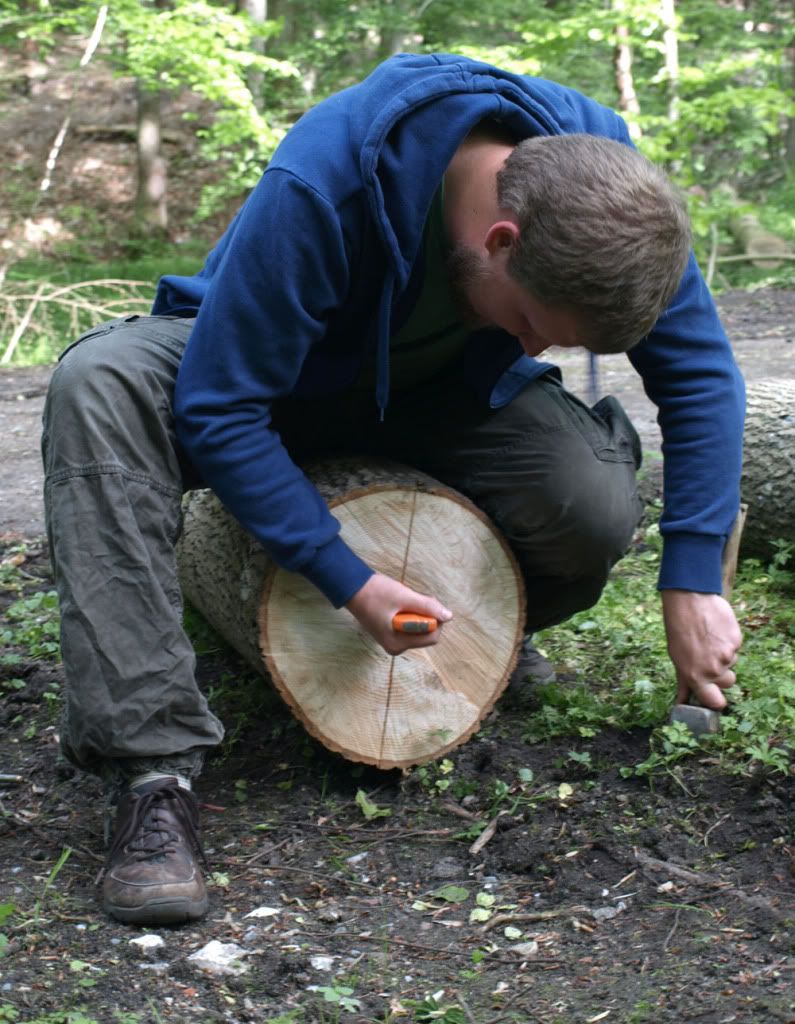
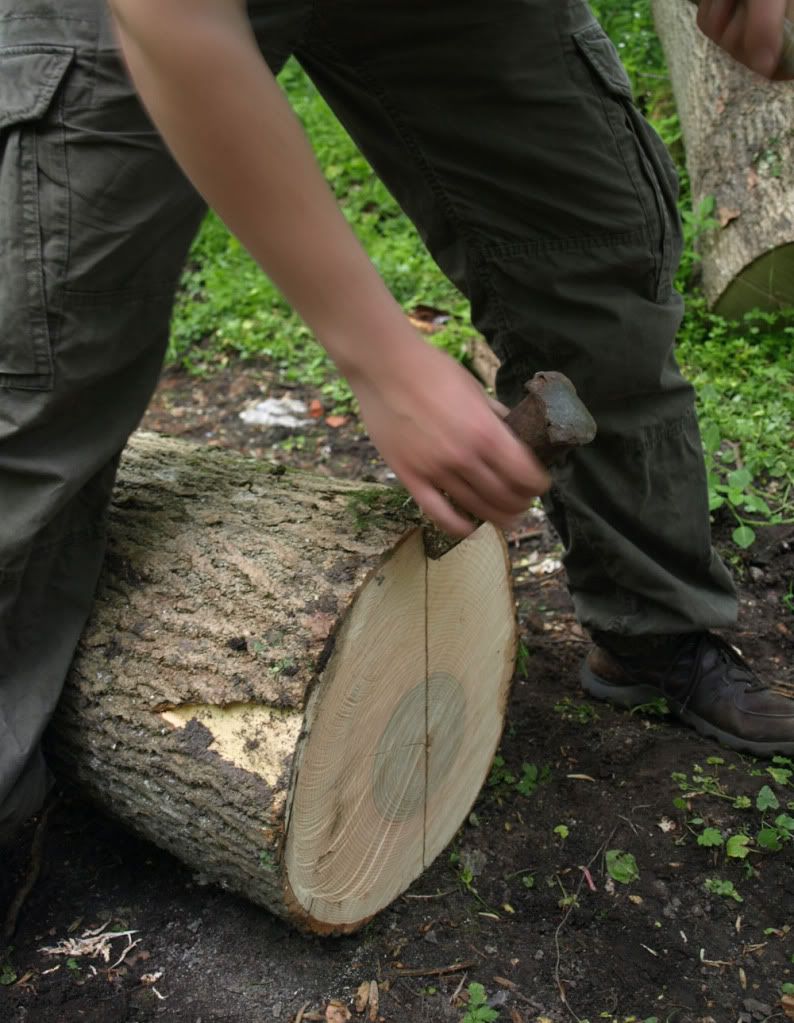
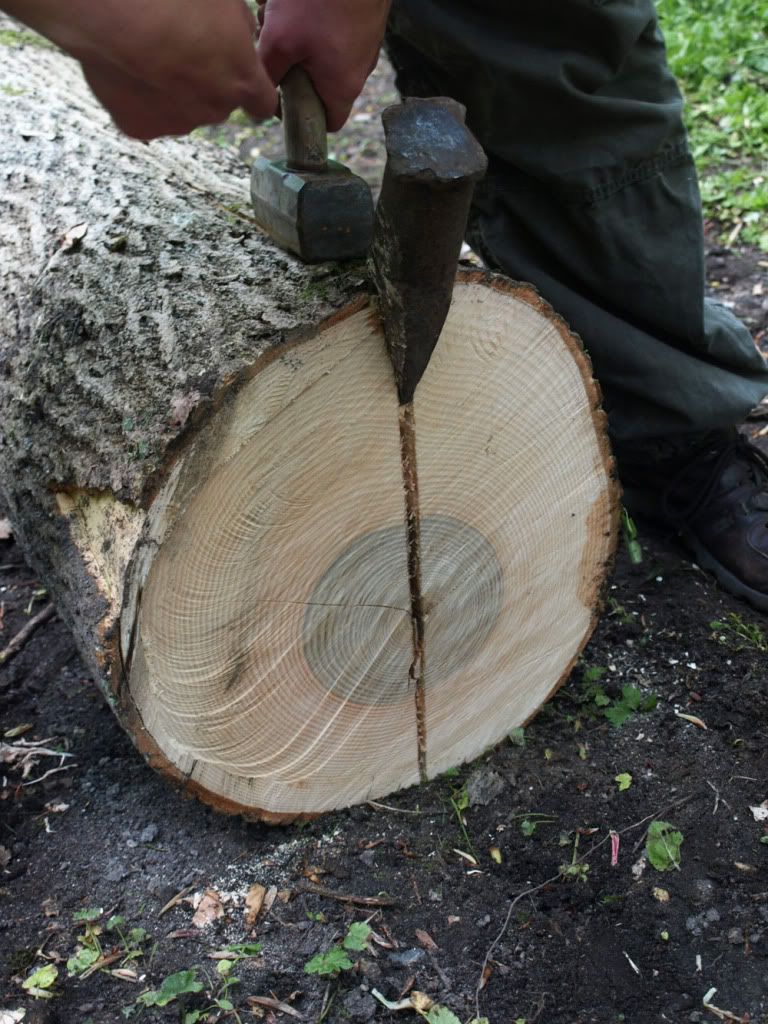
When riving large pieces of wood (that you want to split evenly down the centre) start by scoring the wood in a straight line across the end of the log. Make sure that the two halfs are of equal size.


Scoring the end of the log will create a plane of weakness through the wood, that will guide the split.

Start riving from the edge of the wood with the wedge set at 45 degres.


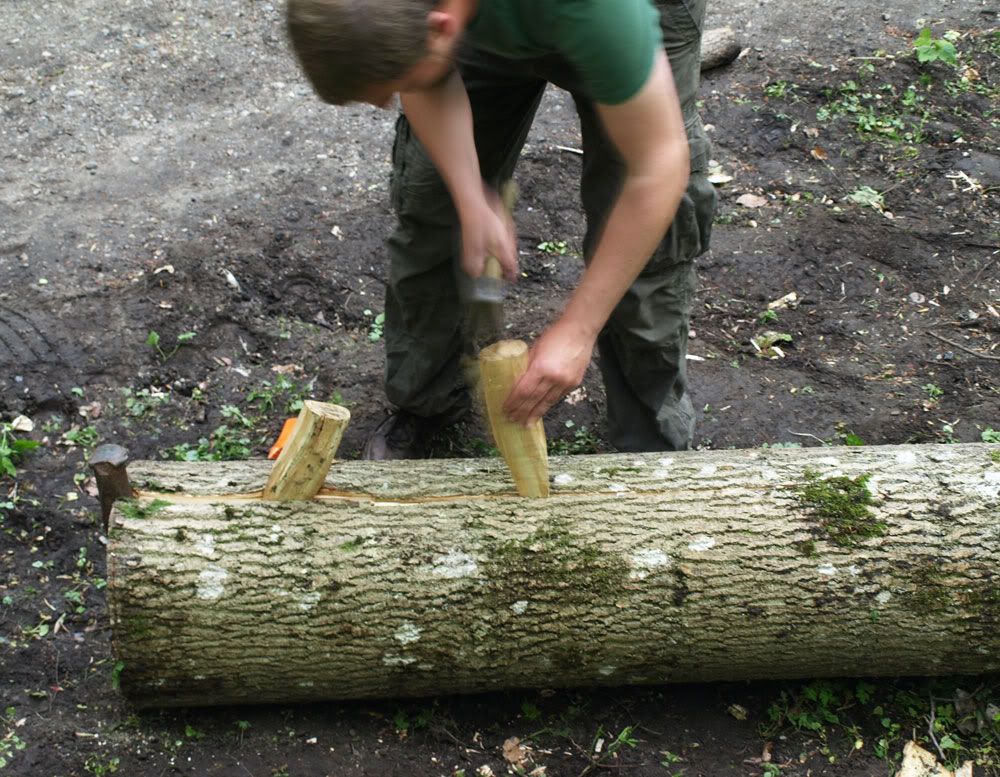
The wedge will open a split across the end and down the length of the log. Open this split further using wooden wedges, set into the split running down the side of the log.


Continue hammering wooden wedges into the split until the log cracks open.
You will need an axe to clear out crossing fibers in the wood.


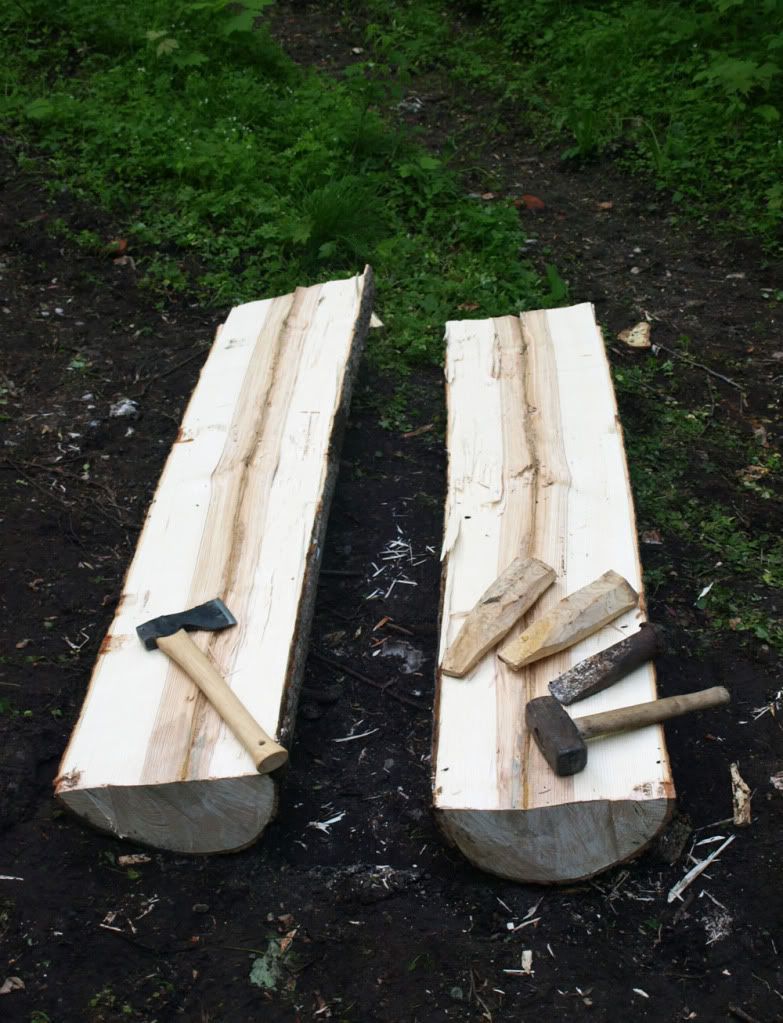
The result should be two halfs of equal size.


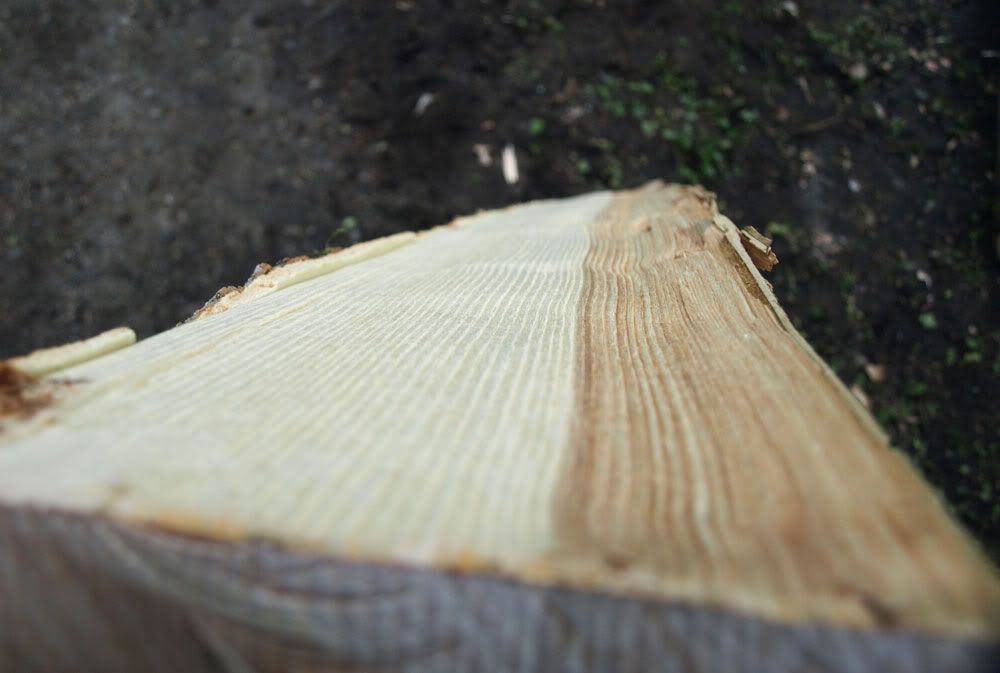
And here is a picture of how clean the split can actually be.
It's pretty incredible if you ask me!


For more info on riving and greenwood working, take a look at these sites:

Greenwoodworking.com

Peter Follansbee, joiner's notes (Blog)

Bodgers ask & anwser forum

Friday, May 22, 2009

Dye-mania

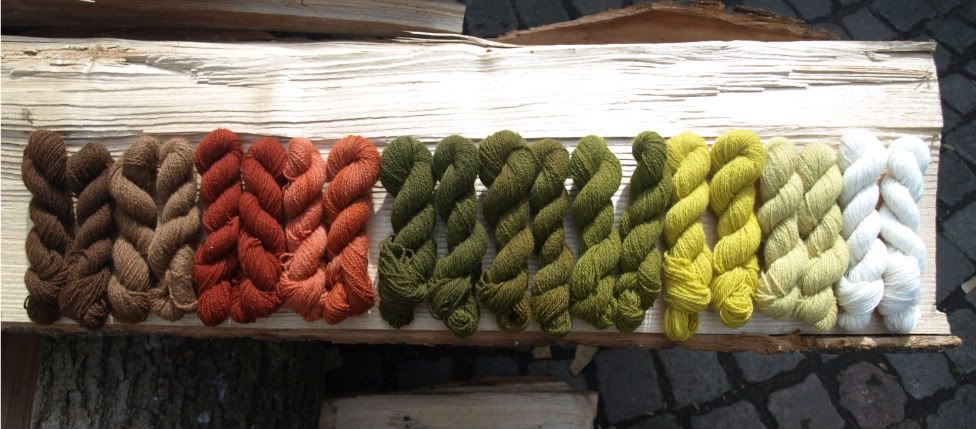
All though I should be reading for yet another exsam I haven´t been able to keep away from the dyeing pots. Mikkel and I (and friends) are going on a market in the middle of July and I wanted to bring different things to sell. My friends Janni and I have decided that we are going to show natural dyening and the yarns can then be used for embroidery and nalebinding. The picture below is some of the colours that I have produced so far. I´m quite happy with the result and it have been quite easy to make. I have been woundering if I/Janni and I should make a small texts about plant dyening that people could purchase. There is often a large interest when we do this kind of thing and a lot ask how we do it.

The plantes that I have use for these colours are (from the left):
- Walnut (the browns - 1. and 2. colour bath)
- Madder (the reds - 1. and 2. colurs bath)
- Birch (the greens and the bright yellow - the greens have been treathed with iron, and taken up at different time in the colour bath, the yellow is 1. colour bath)
- Goldenrot - (the light yellow - 1. colour bath)
The white is the original wool yarn

These small duckets are 50 m yarn and would be relly good for embroidery and very fine knitting. I´m dyening on three differnt types of embroidery yarns and one silk, and have also plans on dyening some more normal yarns for knitting and nalebinding.

Friday, May 15, 2009

New embroidery

After I finished my final thesis for my medieval studies I just had to make some new embroidery. So I found some of the many woolen yarns that I have and decided for a pattern. I know that most of the geometric emberoidery were made with silks but those are quite har d to get in Denmark and at the moment I have so much beautiful natural dyed wool that I want to use. So for the moment all my embroidery is made with wool.

So far the embroidery is quite easy to do and I really like the colours and the pattern. I would actually say that this is my best piece to date. My plan for the embroidery is to make a small purse for my new 14th century outfit which I´m going to make soon.


The wool that I use is dyed with madder, indigo and tansy.